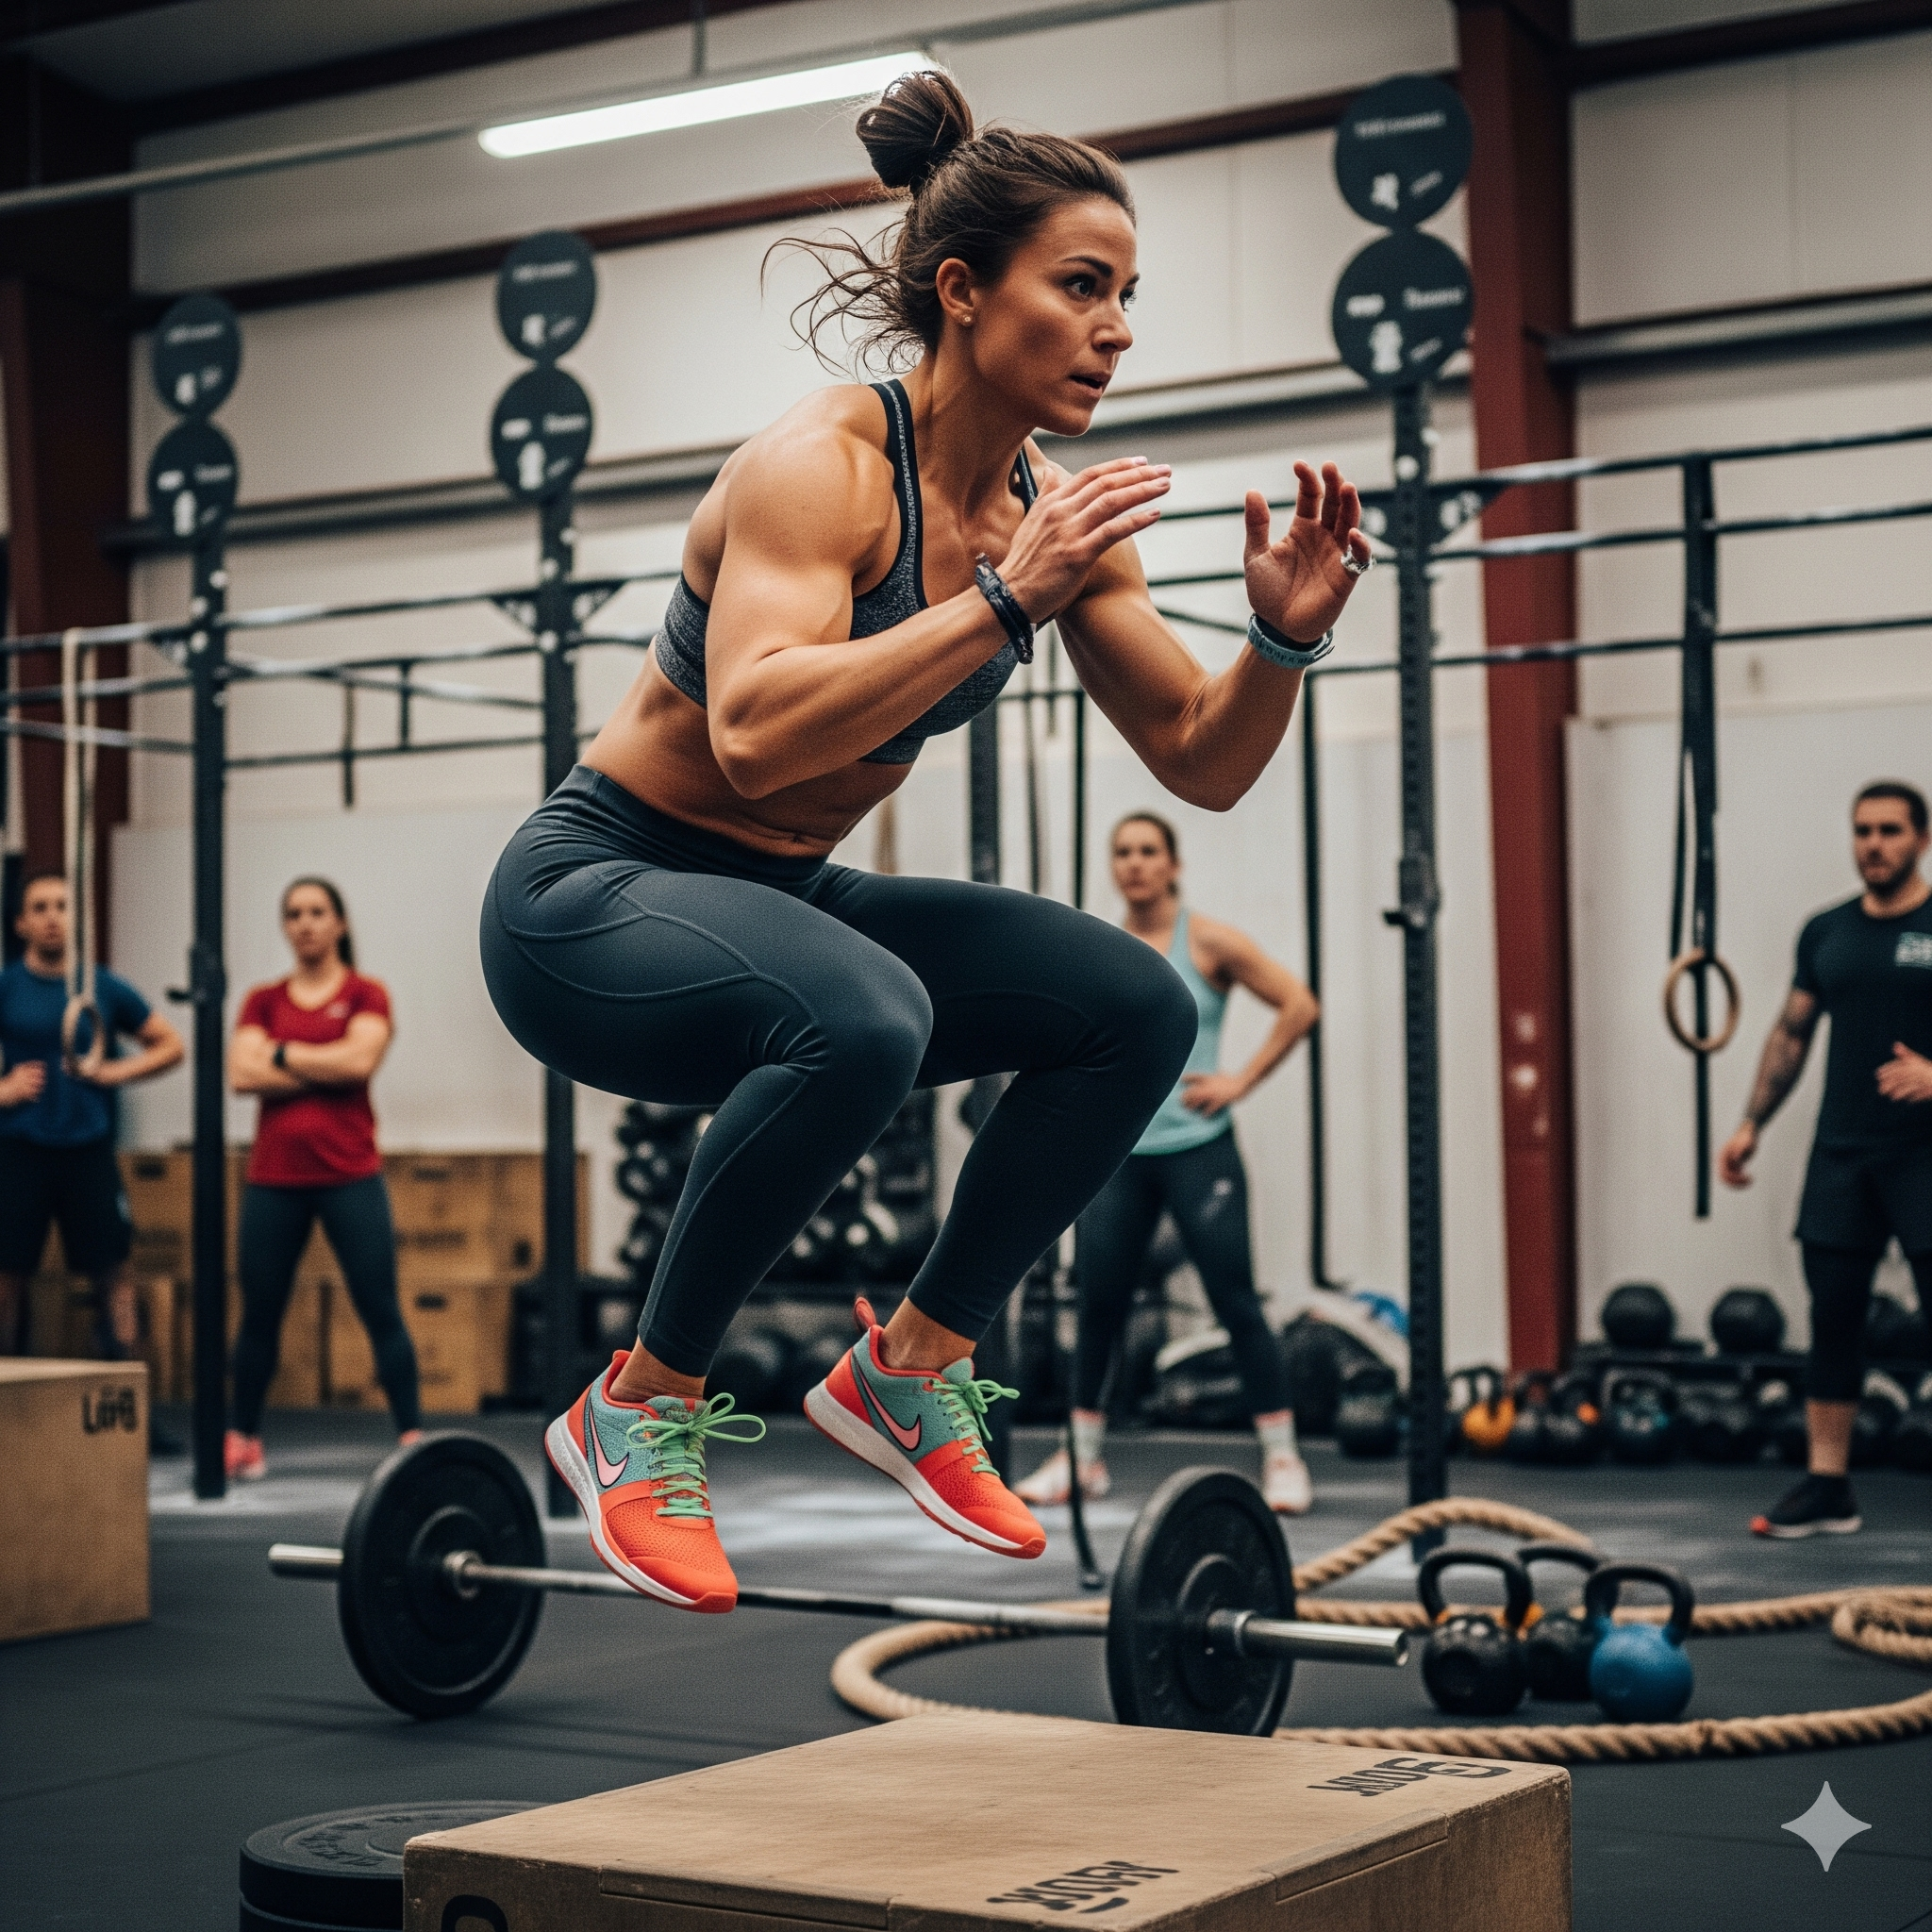
When I first met Dara, she had three major complaints:
- She suffered from lower back pain whenever she worked out
- She felt shoulder pain whenever during exercises that involved raising her left arm above her head
- She could no longer beat her five-year-old son in Connect Four
During our first conversation, Dara explained that she was a serious CrossFit athlete, but that she was afraid she might have to give it up because of the steadily increasing pain in her back and shoulder. She was worried her injuries could only be fixed with surgery.
After listening to Dara’s complaints I told her that I wouldn’t be able to help her with her Connect Four problem, but that I thought I could help her with the pain. Here’s what we did.
Step 1: Testing
Usually, physical pain — particularly pain that builds up over time and isn’t the result of an acute injury — is caused by the way we move. Usually, our body has fallen into an unsustainable pattern that means we gradually experience more and more pain over time. For example: our knee may be turning slightly too far in when we run which, over time, results in knee pain.
When thinking about movement patterns, there are two factors major factors that determine healthy movement:
- Mobility: If we don’t have enough mobility to move through our desired range of motion, our body will compensate in ways that will often cause pain.
- Stability: If our muscles aren’t strong enough and coordinated enough to create stability during our movements, we will often experience pain as well.
Our first step was to test Dara’s mobility and stability in order to see if we could pinpoint what was causing her pain.
What We Tested
Dara was having lower back pain on her right side and shoulder pain on her left.
In addition to testing Dara’s back and shoulder mobility and strength, I also tested Dara’s hip mobility and stability. That’s because back pain is often a symptom of a lack of mobility or stability in the hip.
Our tests revealed several important data points:
- Dara had limited external rotation of her right hip
- Dara’s glutes muscles were not properly stabilizing her hips during movement.
- Dara performed almost all of her movements with an anterior pelvic tilt
- Dara had extremely tight hip flexors
- Dara had limited internal rotation in her left shoulder.
- Dara had limited stability around both her left and right shoulder blades.
Dara was more than willing to accept she might have some mobility restrictions. But when I suggested to Dara that there might be some instability in her hips and shoulders, she was taken a-back (pun intended). As a Crossfit athlete, Dara prided herself on being strong. And she was strong. But strength doesn’t always translate directly to stability. Why? Because if our muscles don’t activate at the proper time, it doesn’t matter how strong they are. Glutes, in particular, are notorious for sometimes getting a little “sleepy” on the job and failing to turn on when they’re needed (this is also known as “glute amnesia” or my personal favorite, “dead butt syndrome”).
Step 2: Rehab
Once we’d finished testing, we started a treatment session using the MAMS method. While MAMS might sound like the name of a Women’s Magazine from the 20’s, it’s actually an acronym for a training philosophy. What does the MAMS method stand for?
Mental Preparation:
Mental preparation is one of the most important — and one of the most overlooked — elements of any training plan. Every session should include some mental preparation. This doesn’t have to be long: it can be as simple as letting the patient know what exercises we’ll be doing that day and checking in on their pain. But it can also include more complex preparation, like letting them know what type of discomfort to expect, or how to deal with the frustration of exercising with an injury. It can even include breathing exercises to help relieve anxiety or unpleasant feelings that might get in the way during the training session.
In Dara’s case, our mental preparation mainly involved:
- Giving her an overview of what we would do during the session and setting expectations for what progress she might expect
- Letting her know that some types of discomfort during the session were expected and could be productive, while other types of discomfort (like sharp pain, for example) were probably a sign we should stop
- Setting intensity expectations. As a CrossFit Athlete, Dara was used to — and, in her own words, “addicted to” — the rush of a high-intensity workout. Our recovery workouts wouldn’t necessarily be easy, but it might not give Dara the same high she was used to. And if she pushed too hard, it could end up doing more damage to the injury.
Once we’d done some mental preparation work, it was time to move into:
Alignment Work
Dara’s tests had revealed that her posture was stuck in an anterior pelvic tilt. Our alignment goal was to give her pelvis a little more freedom to move through its natural range of motion, so that she could exercise with it in a more neutral position. This would not only ease some of her backspin but, I suspected, relieve some of her shoulder pain as well.
To accomplish this goal, I had Dara do a 90/90 wall hip shift (you can see an example here) with deep breaths. After that, I had her do a similar exercise while lying on her side.
Both drills dramatically improved Dara’s range of pain-free motion. Indeed, both her back and shoulder showed significantly improved range of motion after the mobility work
Mobility
The purpose of mobility work is to improve our range of motion and start building strength in this expanded range of motion. There is an argument to be made that all corrective exercise work is mobility work — we work to expand the range of pain free motion for clients — but the mobility part of a treatment session is particularly focused on increasing the range of motion and eliminating movement restrictions.
I should note that mobility work does not simply mean passive stretching. In fact, I often recommend against passive stretching at the beginning of a session. Instead, these mobility exercises are meant to get our joints and muscles actively moving through their full range of motion (more on that in a later article!).
For Dara, we wanted to mobilize her back, hips, and shoulders. We tried a number of exercise to increase her mobility, and measured their effectiveness using a test-retest method (that is, we would test Dara’s range of motion before and after each exercise). Some of the exercises we tried didn’t end up improving Dara’s mobility— and that’s completely normal! Everyone’s body works a little differently.
Here are some of the exercises we used that did help:
- Lying Cat-Camel: Cat-camel is usually done from a tabletop position, but given Dara’s shoulder, I figured it would be more comfortable to do the drill while laying down. This drill slightly improved Dara’s back pain.
- 90–90 hip rotations. This exercise is great for mobilizing hips through internal and external rotation as well and warming them up for future exercises.
- Active pidgeon pose pulses. Rather than using the passive pidgeon pose stretch, we had Dara use active pulses in this position to increase her hip external rotation.
- Half-lunges with hip flexor pulses: In this exercise, we had Dara stand in a lunge position while gently bending and extending her back leg. This mobility activity helps loosen tight hip flexors, which can often play a role in creating lower back pain.
- Slow and controlled bodyweight squats: Bodyweight squats are an excellent way to move our hips into external rotation and help coordinate the movements of the core and hips to effectively support the back
- Arm circles: These were meant to move Dara’s shoulders through their full range of pain free motion
- Banded shoulder external rotation pulls: This was meant to help improve Dara’s shoulder mobility
- Banded shoulder internal rotation pulls: These were also meant to improve Dara’s shoulder range of motion
- Pec-stretch pulses against the wall: Rather than having Dara simply stretch her chest by holding her arm against the wall, we had her gently contract and release her pec muscle while slowly moving through her range of motion. Tight pecs often can create strain on the shoulders and neck, and releasing that tightness often helps to eliminate some of that pain.
Strength
Once our joints are moving effectively through their full range of motion, we want to add some more stability to that mobility. The best way to do this is through strength training.
For Dara, I had a few areas I wanted to address:
- Core: Back pain often emerges when our core is either weak or not activating when we need it to. I wanted to make sure Dara’s core was providing her back as much support as possible
- Glutes and Hamstrings: These muscles play a critical role in supporting the back and helping us move without pain (glutes are often considered part of the core).
- Shoulder stabilizer muscles: The muscles that stabilized Zara’s shoulder joint — such as her serratus aneterior, trapezius (upper, middle, and lower), levator scapulae, rhomboids, and deltoids — were all weak or uncoordinated.
To address these three areas, I had Dara perform a number of exercises. Some of these exercises were faintly uncomfortable for Dara. We closely monitored her pain to make sure that mild discomfort didn’t cross into unproductive pain (which, in Dara’s case, meant any shooting pains or any aching pain that went above a 3/10).
Here are some of exercises we used to strengthen Dara’s core, hips, hamstrings, and shoulders:
- Curl-ups. These are like crunches, but with a more neutral spine. I had Daisy lie on her back and then lift her head just a few inches off the ground without curling her back or neck (it’s important not to lift too high off the ground).
- Side planks on knees. Side planks strengthen both the oblique muscles in your core and muscles of the hips and glutes, making them an incredible exercise for alleviating back pain. They‘re also an excellent shoulders stability exercise when used appropriately. In Dara’s case, we had her perform the side plank on her knees and elbow to reduce the strain on her shoulder
- Single-legged glute bridges. These activate the glutes while putting minimal pressure on the lower back and help teach the body to use the glutes as the primary move during hip extension. Daisy noticed significant weakness in her left leg.
- Lunges with high knee lift. Lunges are a great way of activating the hips, glutes, and core. The slow and controlled high knee at the end helps activate and strengthen the hip flexor. Strengthening the hip flexors can help create more stability in the lower back, which can help alleviate pain.
- Slow controlled goblet squats with light weight. Holding a light weight increased the demand on her core and leg muscles without aggravating her pain.
- Lying T-Lifts with light weight. These lifts help strengthen the muscles of the shoulder and the related stabilizer muscles.
- Lying Y-Lifts with light weight. These lifts also help strengthen the muscles of the shoulder and related stabilizer muscles. For Dara, these lifts were particularly helpful at reducing her shoulder pain.
- Standing lateral shoulder lifts with light weight: These lifts help activate the lateral shoulder muscles and help stabilize the shoulder complex
- Shoulder shrugs with light weight. These lifts are meant to work the trapezius muscles, which can help stabilize the shoulder and neck.
Sometimes, strengthening a troubled join results in immediately relief. Other times, the joint will feel a little irritated after exercise, but will feel better a few days later. In Dara’s case, our strengthening exercises resulted in an almost immediate improvement in her symptoms, which continued to improve over the next several days.
Conclusion
Chronic pain doesn’t disappear overnight. But after several sessions, Dara felt well enough to attend one of her Crossfit classes and was able to complete a modified version of the class without pain. Within a few months, she was back to class multiple times a week.