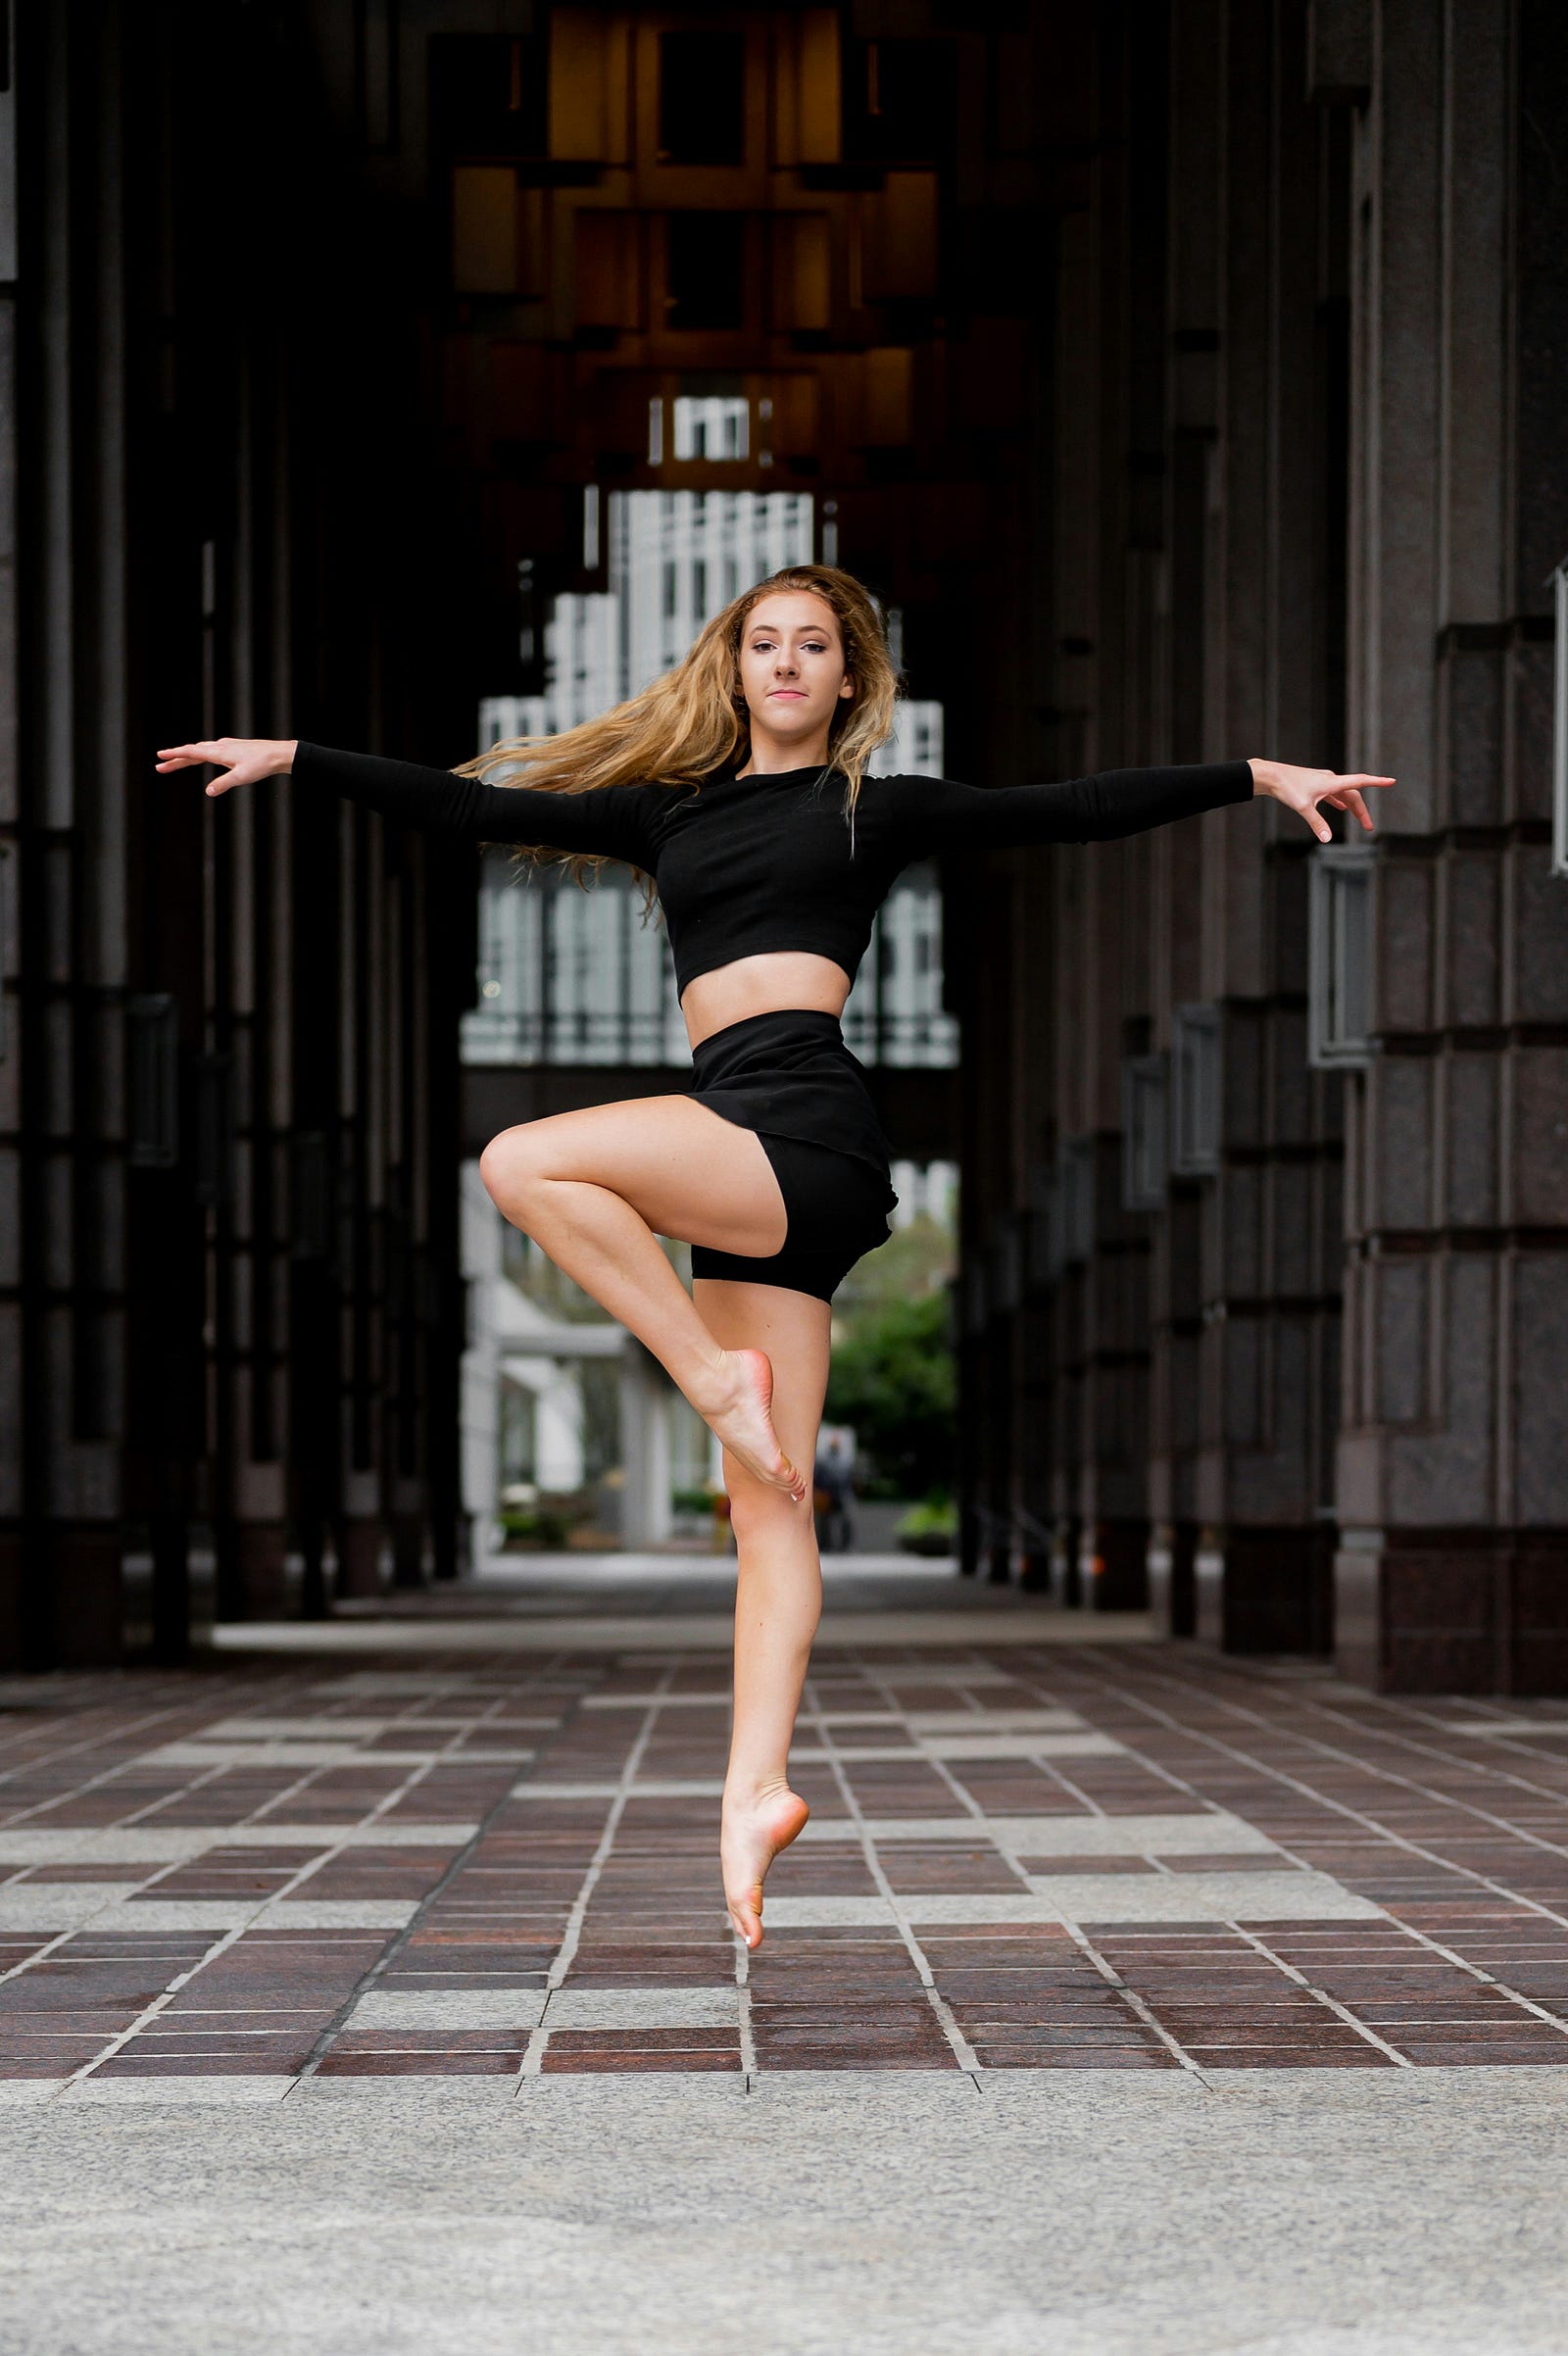
When I first met Daisy* over Zoom, three things immediately stood out to me:
- She had incredibly straight posture
- She looked physically uncomfortable sitting in her chair
- She had a poster from Avatar: The Last Airbender hanging on her wall (my favorite TV show!)
I restrained myself asking about the Avatar poster, but I did ask about the discomfort. What I learned was that Daisy was suffering from fairly severe lower back pain on her right side. She’d been struggling with symptoms for more than a year, and despite her best efforts, her back pain had steadily gotten worse. In Daisy’s words, she’d tried everything:
Stretching
Traditional Physical Therapy
Chiropractic
Acupuncture
Nothing had helped. If anything, the pain had gotten worse. In fact, it had gotten so bad that Daisy was thinking she might have to give up her passion: dance. A former professional dancer, Daisy now performed with an amateur performance group and enjoyed taking dance classes on the side.
I didn’t want Daisy to have to give up her favorite activity. And I thought I could help. So after discussing some potential options, Daisy and I started working together.
Step 1: Testing
Testing patients is about three things:
- Figuring out which movements and movement patterns cause pain
- Finding mobility restrictions, muscle weaknesses, and form mistakes that might be the source of that pain
- Making corny jokes about the human skeleton (Corny jokes are the backbone of my sense of humor)
Most injuries like Daisy’s are usually the result of unsustainable movement patterns. Over time, these unsustainable patterns cause damage to our body, which in turn leads to pain. By correcting these movement patterns, we can eliminate pain and build strength and mobility at the same time.
Correcting movement patterns usually involves addressing form errors, mobility restrictions, and muscle imbalances. To do this, we first had to figure out what types of imbalances or restrictions might be causing Daisy’s pain.
To gather this information, I had Daisy complete a number of mobility and strength tests on her back, hips, and ankles.
Why hips and ankles?
As it turns out, many back issues are actually the result of unaddressed hip issues. Understanding what’s happening at the hips often gives helpful insight into what might be causing back pain.
Ankles can also play an important role in back pain. The feet and ankles are our bodies’ first line of defense when it comes to protecting the rest of our joints from the impact of activities like walking, running, and jumping. Issues at the ankle can result in higher shock impacts up our entire legs and into our backs. These increased impacts can lead to pain.
What Did Our Tests Find?
Our tests revealed that Daisy’s pain was aggravated whenever she hinged forward (“hinging” is another word for leaning forward the way you might during a deadlift or a squat). They also revealed that she was not able to round her lower back very much without pain. Furthermore, Daisy’s posture seemed to be stuck in an anterior pelvic tilt.
(What is anterior pelvic tilt? APT is when our lower back is slightly extended (arched), so that our pelvis is tilted forward. This is a natural motion of the pelvis. However, if an individual gets stuck in this position and cannot access a neutral or posterior-pelvic tilt position, APT can lead to pain.)
Anterior pelvic tilt is actually quite common in athletes like dancers and gymnasts. Sports that emphasize “perfect” posture often drill their athletes into a state of near-constant anterior tilt that, if not balanced, can lead to pain down the line.
In addition to anterior pelvic tilt, we also found that Daisy’s left hip had much less internal rotation than her right hip.
Dancers often prioritize external rotation but neglect internal rotation. Over time, this type of imbalance can lead to movement dysfunction and pain.
Finally, we found that Daisy’s ankle dorsiflexion (the ability to flex the toes up toward the shins) was extremely limited. This is not unusual in dancers. Ballerinas, for example, are trained from an early age to be on their toes. This results in super-hero strong calves and plantar flexion muscles (the muscles that point the foot). The reverse muscles, however, are often quite weak. This lack of balance between muscle groups — and inability to flex the foot with strength — means that the foot is often not able to absorb shock effectively. This can, in turn, lead to pain.
Step 2: Treatment
Once we’d figured out some potential causes of Daisy’s pain, I prescribed her some Gabapentin and sent her on her way…
Is what I might say if I were a very lazy doctor rather than a corrective exercise specialist.
Actually, once we had discovered some imbalances that we thought were causing Daisy’s pain, we began treatment with the MAMS method.
What does my Mom have to do with this, you might ask?
Nothing. (Well, I mean, she did raise me. And she’s great. But this isn’t her method.)
MAMS is an acronym for our treatment method, which includes:
Mental Preparation: Every treatment or exercise session should include some mental preparation. This doesn’t have to be long; it can be as simple as letting the patient know what exercises we’ll be doing that day and checking in on their pain. But it can also include more complex preparation, like letting clients know what types of discomfort to expect, what types of discomfort are productive, and what types are not.
Alignment: Once we are mentally prepared for the session, I like to start clients off with some alignment work. For me, alignment work mostly involves using breathing-related exercises to ensure that the core pillars of our posture — ribs, pelvis, neck, and spine — are well-positioned and able to move freely before we begin our work session.
Why is this important?
Imagine driving a car. Now imagine driving a car, but the seat is just a little too far away, or too close, to the steering wheel for your comfort. Can you still drive the car? Sure! Will your ride feel less comfortable? Probably. Will your body feel worse afterward? Certainly.
More than likely, you would never drive like that. You would adjust your seat so that you were comfortable before you started to drive.
Alignment work is a similar concept. Pulling our bodies into better, more sustainable alignment before we start will make everything work better and increase our chances of feeling good afterward. Plus, it usually improves performance and reduces pain!
Mobility: Once we’ve done alignment work, we move into mobility. (Could alignment work be qualified as a type of mobility work? Yes. Leave me alone. I’m trying to make an acronym here).
Mobility work includes moving our joints through their full range of motion in order to
- Increase that joint’s range of motion and
- Prepare the body for more intense activity
(Note: Mobility work is not just passive stretching. In fact, I often recommend against passive stretching at the beginning of a workout. If you want to know more about that, let me know in the comments below!)
Strength: After we’ve expanded our mobility, it’s time to start building strength and endurance in our muscles. Almost all injuries involve a component of muscle imbalance or weakness: strength training allows us to strengthen the relevant muscles and correct imbalances so that we are better supported in the future.
Additionally, strength work allows us to use the new mobility we’ve gained in an active range of motion. Using our mobility in an active range of motion helps ensure that those mobility gains become permanent.
Ok, you may be thinking. That’s all well and good. But what does this method have to do with Daisy? She’s the interesting one here.
I agree.
So here’s what this system looked like for Daisy.
Mental Preparation:
For Daisy, mental preparation started with discussing what the individual session would look like. It also involved letting her know that some exercises might provoke discomfort, but that discomfort wasn’t necessarily a bad thing. Some types of discomfort are actually helpful in helping us get over pain. Other types are less productive. Learning to distinguish between these types can take time, but we did our best to lay the groundwork.
In Daisy’s case, there was also an additional bit of mental preparation that was necessary. Many athletes are used to pushing through pain or ignoring it altogether. As a result, they often have a skewed perception of what “hurts.”
For example, when I first asked Daisy if she was in pain while sitting, she said “no.” It wasn’t until I mentioned that she looked like she was cringing that she said, “Well, not more than the usual discomfort people feel while sitting.”
When I told her many people don’t feel any discomfort while sitting, she was a little flabbergasted.
(Ok ok. “Flabbergasted” might be an exaggeration. I just love using that word.) Daisy was so used to a chronic, low-level discomfort that she had trouble recognizing what true “normal” felt like. Establishing a true “normal” made it easier for us to ensure that Daisy didn’t accidentally overdo it during training.
Alignment Work
Daisy’s tests had revealed that she was trapped in an anterior pelvic tilt. Our goal with alignment work was to give her pelvis a little more freedom to move through its natural range of motion. This would, in turn, ease some of her back pain.
To accomplish this goal, I had Daisy do a few drills.
The first was 90/90 wall hip shift (you can see an example here) with deep breaths.
The second was a similar exercise done in tabletop position with protracted shoulder blades (see example here).
Before each drill, I had Daisy bend forward as far as she could without pain. After each drill, we would retest to see if her range of motion had improved.
In both cases, these drills improved Daisy’s range of pain-free motion dramatically. That doesn’t always happen during alignment work, but it was a good sign that we were on the right path.
Mobility (Part 1)
Once we’d finished the alignment work (which, despite the many paragraphs above, only took a few minutes), Daisy and I began mobility work. (Buckle Up — there were a bunch of exercises).
As mentioned above, the great thing about “mobility work” is that it can serve as both a warmup and a workout, while also having a healing effect.
For Daisy, we wanted to mobilize her back, hips, and ankles. We started by testing a number of exercises to see which ones had the effects we wanted. The ones that were most effective were:
- Cat-camel. This is a staple exercise that — when done correctly — can be incredibly helpful for back pain and discomfort. When we tested cat-cow, we found that it did not do much for Daisy’s range of motion, but it did reduce her pain.
- Internal/external rotation slides with a foam roller. In this exercise, the patient lies on their side with a foam roller between their legs. They gently slide their top leg forward as far as they can without changing their spinal position, then bring the top leg back as far as they can without changing their spinal position. The patient then repeats on the other side. This exercise moves the hips gently through internal and external rotation. Test and retest revealed that this exercise did not significantly improve Daisy’s pain-free range of motion, but did improve her internal rotation.
- 90–90 hip rotations. I know, I know — I’ve used the number 90 seven bergillion times already. But this exercise is great for mobilizing hips through internal and external rotation as well and warming them up for future exercises. These exercises slightly improved Daisy’s internal hip rotation, but otherwise had no immediate effects. And that was ok! Not everything helps.
- Kneeling split squats. This is a split squat, but taken on the knee rather than while standing. This move encourages ankle mobility and activates glute and quad stabilizers. These resulted in notably increased ankle flexibility.
- One-legged internal and external rotation exercises (also known as “hip airplanes). This also greatly improved Daisy’s ability to internally rotate on her left side.
We repeated the most effective exercises listed above for a second set.
Mobility (Part 2)
Once we’d finished a number of more basic mobility exercises, we proceeded to do some slightly more compound mobility exercises.
- Extremely slow and controlled deep squats. Like many dancers, Daisy was (and is!) extremely flexible. However, her lack of ankle dorsiflexion strength and lack of internal hip rotation meant that she could not achieve a deep squat without coming up onto her toes and shifting slightly to the right. Furthermore, going through the whole motion caused her mild discomfort. We slowed Daisy’s squat way down, and had her stop before she felt any discomfort or instability. We also had Daisy squat with a more neutral spine, rather than a slightly arched back. The resulting squats were not the deepest squats Daisy could possibly do. But they were the deepest she could do while maintaining good form. One set of squats created a modest improvement in Daisy’s pain-free range of motion.
- Split squat with internal rotation on the left side (and normal split squat on the right side). The goal of these was to strengthen Daisy’s hip strength and stability on both sides, while also increasing internal rotation on her left side. Retesting after this exercise showed that it was enormously helpful at increasing Daisy’s internal rotation on her left leg.
- Toe taps. The goal of this exercise was for Daisy to flex one foot as much as possible while standing before slowly lowering that foot to the ground and repeating on the other foot. We did this to strengthen the front of Daisy’s lower leg (the tibialis anterior) in order to improve her foot flexion and ankle mobility. It resulted in noticeable improvements in ankle mobility.
Strength
By this point, Daisy had a significantly larger range of pain-free motion than when we’d started the session. Once we’d activated that larger range of motion, our goal was to develop strength and balance in this new range of motion.
There were a few strength areas I wanted to address.
The first was Daisy’s core. People often say that a weak core causes back pain. This is true to an extent, but it lacks some nuance. What I would say is that a weak or uncoordinated core can cause back pain. You can have the strongest core in the world, but if it isn’t stabilizing you when you need it to, you could still have pain. We wanted to make sure Daisy’s core and hips (especially the glutes) were working effectively together during movement to protect her back.
To achieve this goal, we introduced a few exercises:
- Curl-ups. These are like crunches, but with a more neutral spine. I had Daisy lie on her back and then lift her head just a few inches off the ground without curling her back or neck (it’s important not to lift too high off the ground).
- Side planks on knees. Side planks strengthen both side muscles in your core and muscles of the hips and glutes, making them an incredible exercise for alleviating back pain. However, they must also be used carefully: when someone is lacking space/mobility in their back or hips, the intense contractions of a side plank can actually make pain worse in an unproductive way. That’s why — even though Daisy was certainly strong enough to do a full side plank — we had her start on her knees. The movement was mildly uncomfortable for her during the first ten seconds of the exercise, but the discomfort then began to fade. We had her hold for thirty seconds on both sides for two sets.
- Single-legged glute bridges. These activate the glutes while putting minimal pressure on the lower back and help teach the body to use the glutes as the primary move during hip extension. Daisy noticed significant weakness in her left leg.
- Slow goblet squats with light weight. Holding a light weight made it slightly easier for Daisy to maintain good form while squatting and increased the demand on her core without aggravating her pain.
- Single-leg touchdown squats from a short height. This is a demanding exercise, and I usually would not introduce it this early in a training regimen. However, single-leg motions were one of the specific goals for Daisy (as a dancer, she is often asked to perform moves that require just one leg). She specifically asked that we address at least some single-leg balance work during the session. In my opinion, client requests should be valued whenever possible. And given how well the session was going, I felt comfortable trying a few providing they did not cause pain and that Daisy kept impeccable form (neutral core, stable knees).
By the end of the session, Daisy was sweating and her legs were shaking. But there was good news: when we measured her new range of motion, she could touch her toes without pain! And she wasn’t feeling any pain while sitting down.
Conclusions
This was just one session, and it was not a magic bullet. Unfortunately, chronic pain rarely permanently disappears overnight. Helping Daisy permanently address her pain required many more sessions, during which we progressed her exercises until she was eventually able to do single-leg deadlifts without pain (while holding a conversation with me about Avatar!)
That said, we were able to make significant gains in one session by using science-backed principles to craft a treatment for Daisy. A few days later, Daisy sent a video of her dancing. It was just in practice, not a show. Still, the video was heartwarming.
Daisy was clearly meant to dance. I’m just happy we could help her get back to it.
If you are struggling with pain and injury — or just looking for a training plan — I want to help! Schedule a free consultation or reach out via our contact page.